
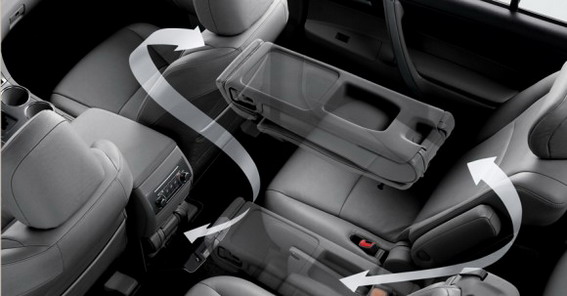
While I had permanently installed my scanner and dual band antennas (and written about it) last year, I have been thinking hard about how to mount the radios, remote head, power switches, mic, and speakers on the interior.
I spent the last year testing a few temporary scenarios, including most recently having the radio just sitting the on the floor under the driver seat wit the remote head on a cup holder mount. It just too messy and I wanted something much more integrated with the car.
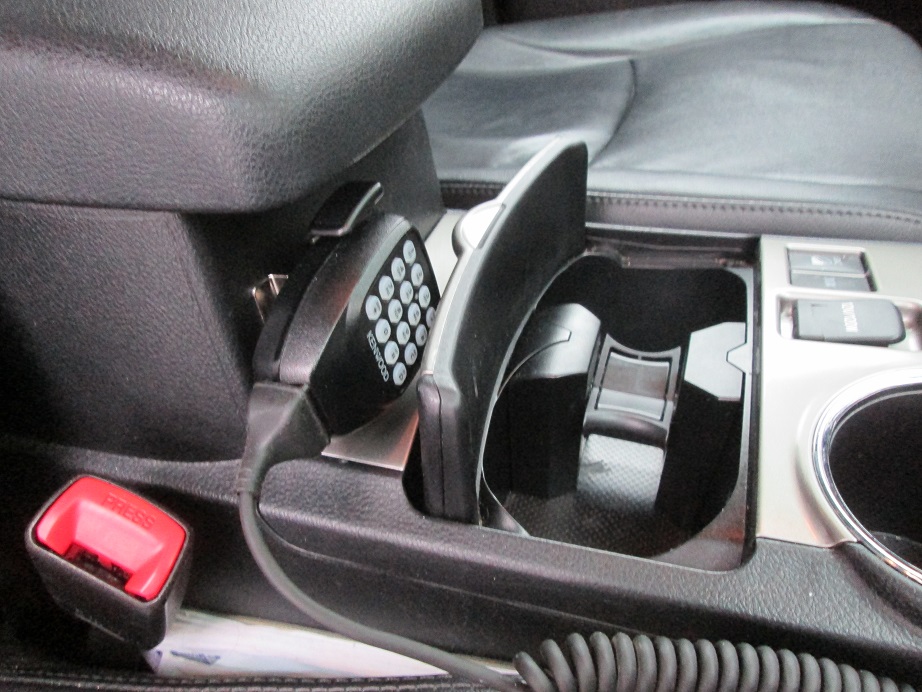
I struggled for months deciding where I wanted to permanently mount the radios. Under the seat was a good thought but with the rear heater vent under there, and combined with the in seat ‘butt-warmers,’ I was very concerned about heat issues with my radios. One day a few weeks ago, it struck me that I actually I have a cavernous space available to me under the center armrest/console. There is a rear-accessible compartment that is used to hold the swappable middle row center cupholder console and mini center seat. I only have used the little console once in three years. I just had to leave the unused console in my garage, and the space was mine to use as I see fit.
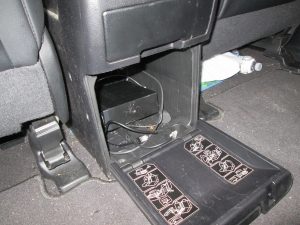
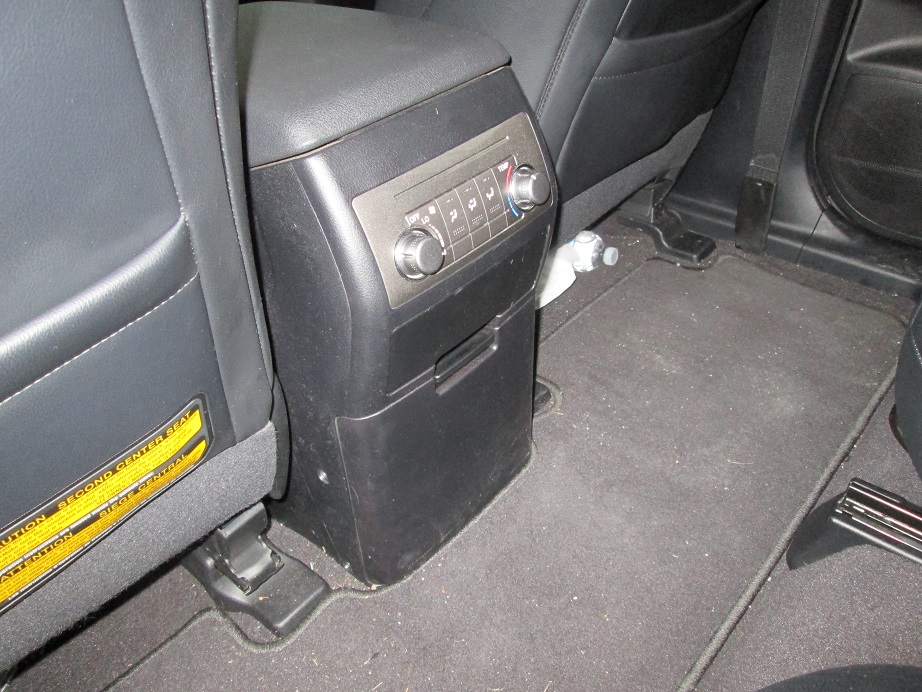
Here you see this compartment opened and closed. Perfect. (Radios are not yet permanently mounted.)
I also brought a Pro Fit custom mount that allows me to mount my Radio head and cell phone holder on my dash immediately left of the center driver vent.

The speakers for scanner and ham rig are mounted thusly:
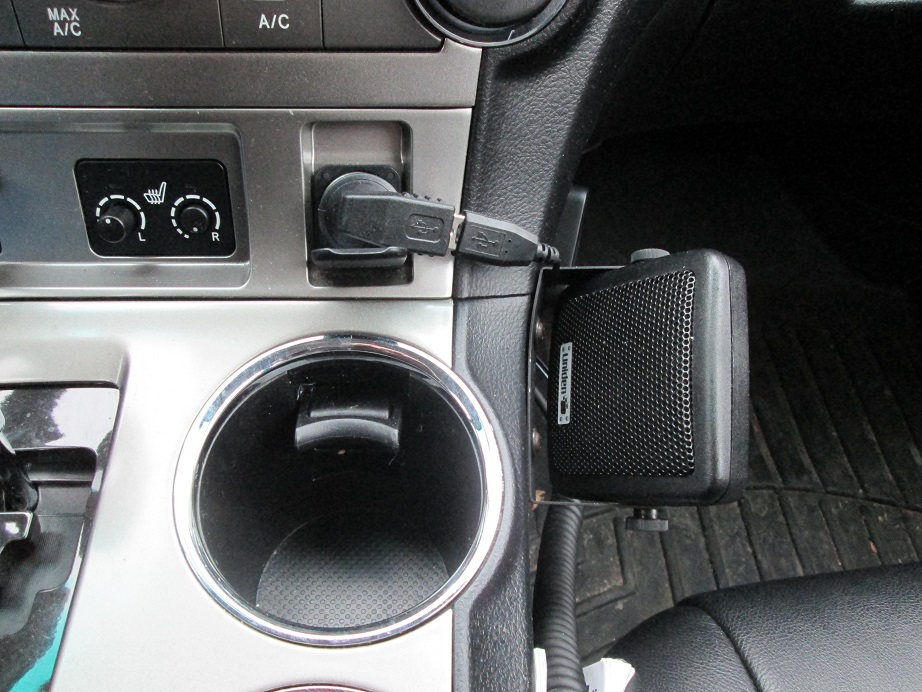
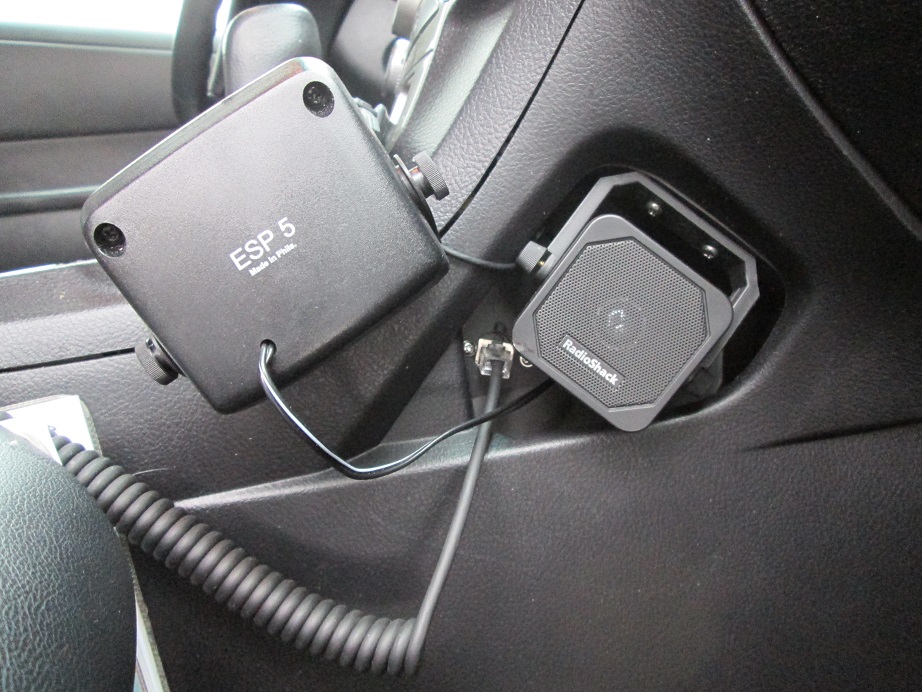
All wiring (power, speaker, mic, remote head) is invisibly routed behind the dash and through the armrest console to the radio compartment. You can see that for the scanner I used a basic small Radio Shack extension speaker which fits nicely in the recessed side ‘cubbyhole,” while I used the Uniden SEP-5 speaker for the Kenwood dual band rig, screwed directly into the side of the console with black screws. It hurt to do this, but I saw no other way.
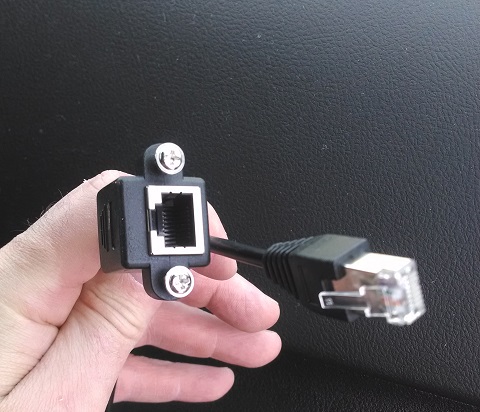
If you look at the picture above. you can see the Kenwood microphone plugs into an RJ45 panel mount jack that I mounted in the little cubby hole behind the smaller speaker.
I used this shielded panel mount pigtail from seller cablesonline.net on eBay :
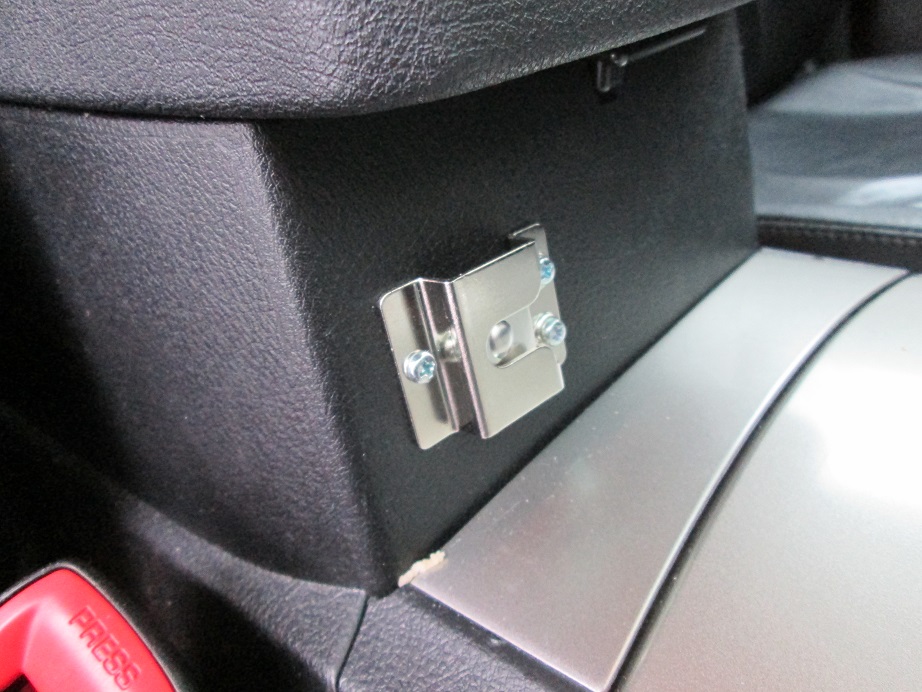
Then the mic holder was mounted to the front of the armrest console.

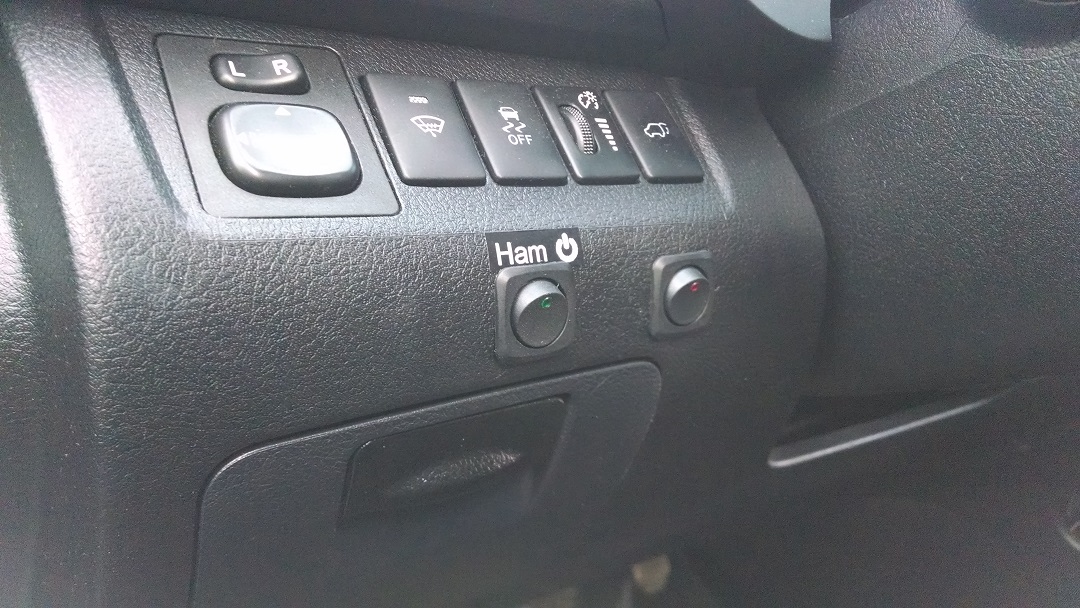
Finally, I put switches int he left side of the dash to control the power for 1) all the ham gear, and 2) the TinyTrak III tracker for when I want to use the dual bander without APRS tracking. (the label is temporary. I want to make it look more consistent with the fonts and styling of the OEM switches later.) The switches are in tight using friction. I drilled a slightly-too-small hole then uses a razor to enlarge it until I could force in the switches.
I will post again when I finally mount the Radio Chassis in the compartment. I have a repair pending that I need to complete first.
1 ping
[…] Just another Highlander Ham checking in – W2DHS here. Check out my installation here: https://www.w2dhs.com/2014/03/02/2011…-installation/ dsantoro is online now Quote Quick […]